-
How to Handle Location Services in an iOS Swift Application
almost 9 years ago
iOS does not provide direct access to the location.We need to ask for the permission if we want to use the location in iOS. Asking for permissions depends on two factors:
- Asking for user’s location when app is running.
- Asking for user’s location when is not running.
There will be times when you will require both the location permissions, like, creating an app that shows you the distance from your current position to the nearest shop. For this you will only need the location when the app is in use. But, if you are using an app that needs to update the location each time the user changes it’s location, then you will be needing the access to the location even when the app is not running.
If you need access to your location then you need to change the key in your info.plist file of your app.
The change in the key depends on your requirements,whether you require “always access” or just “when in use”.
The process to change the info.plist file is described below:
1. Create a new project,then select your name of the project in the project navigator window which is topmost file in the project navigator.
2. Then on the right hand window , select the info tab just at the top.
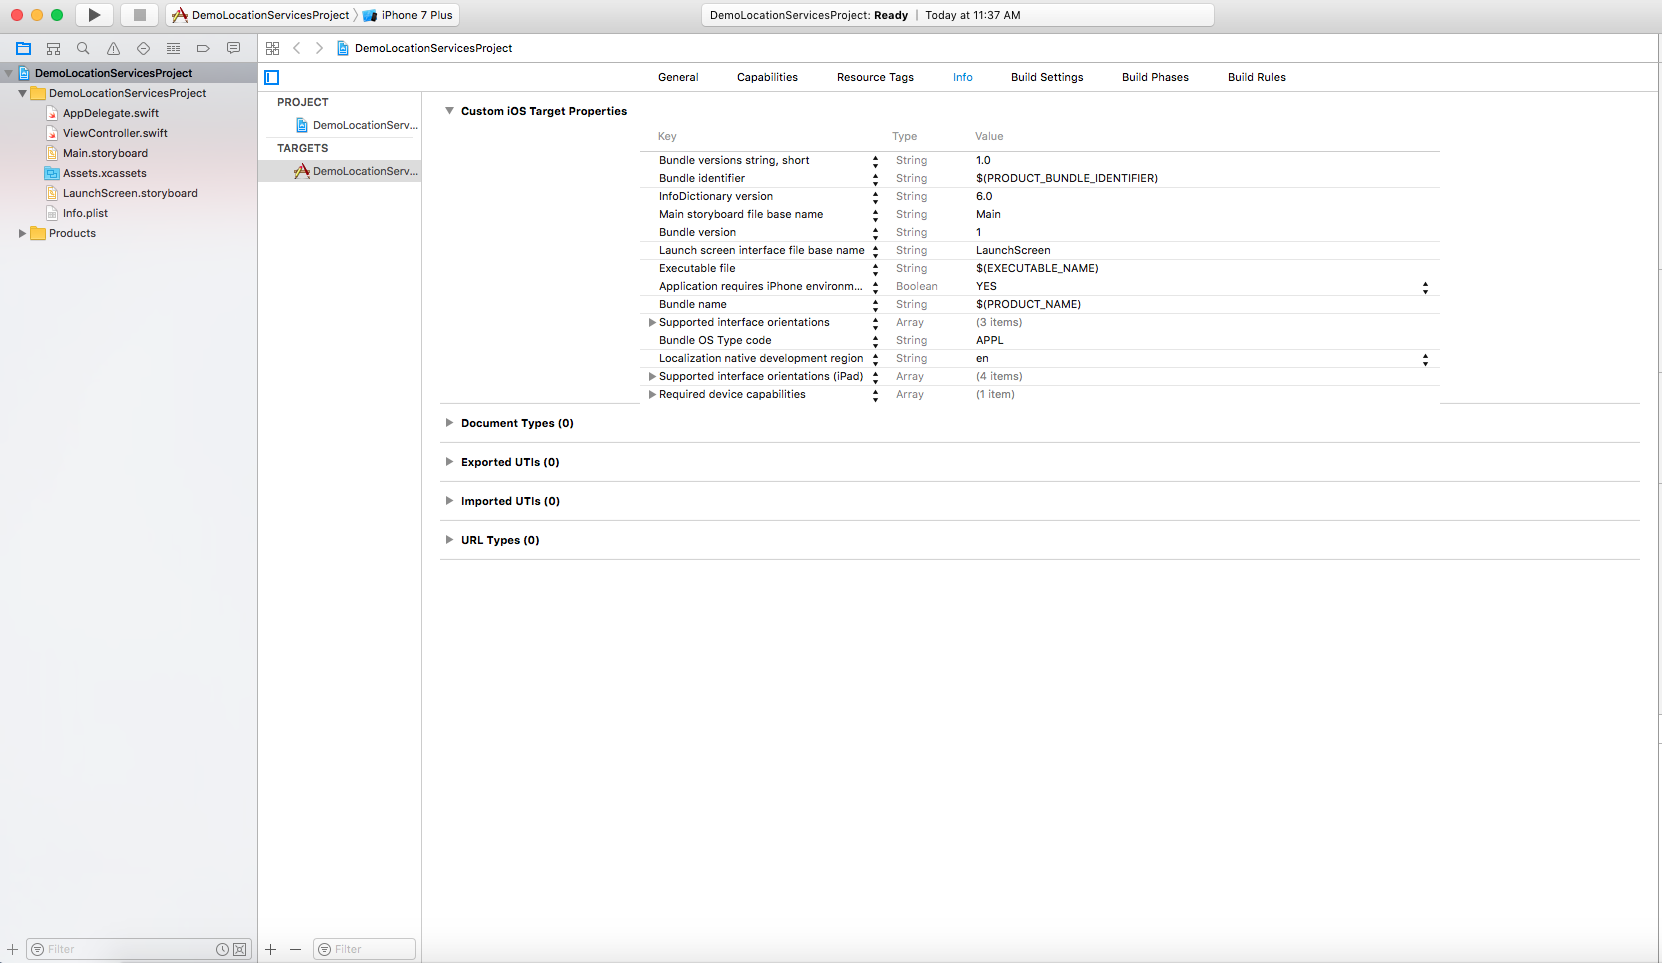
3. Then go to Editor menu and choose Add item. You can change the name of your item depending on your needs.
-
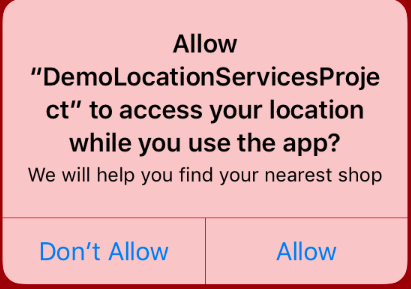
“Privacy – Location Always Usage Description”: This will allow your app to get the user's location even when the app is not running.

-
“Privacy – Location When In Use Usage Description” : This will allow your app to get the user's location when the app is runnig.

Make sure that the type is set to string and in the value field you need to enter some text to tell the users the reason to use their location.
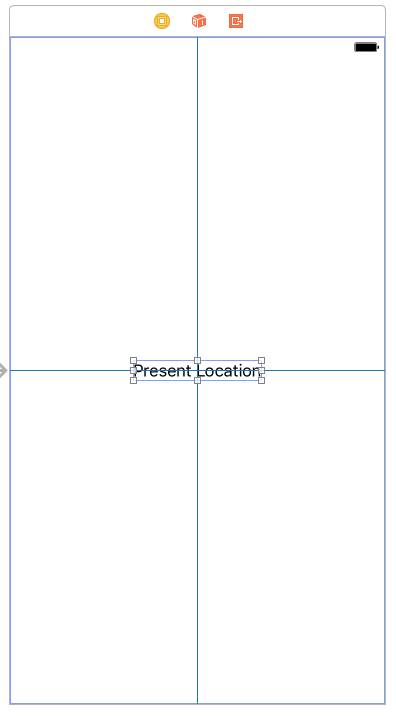
Now we will make a label in main.storyboard file to display the distance.This lable will show messages depending on your current location.
Now let's configure the location services to make our app work correctly.
In ViewController.swift file add this import statement:
import CoreLocationAdd Location Manager Property to your class:
var locationManager: CLLocationManager!Location Manager is a Core Location class that notify us with the location updates. This does not prompt the user for the location permissions. For that we will create an object and set this as it's delegate and conform to the protocol. After that we will request for authorization.
Conform your protocol:
class ViewController: UIViewController , CLLocationManagerDelegate{Modify viewDidLoad Method:
override func viewDidLoad() {
super.viewDidLoad()

locationManager = CLLocationManager()
locationMnager.delegate = self
locationManager.requestAlwaysAuthorization()

view.backgroundColor = UIColor.red

}
If you have granted the location permissions then it will work fine, but if you haven't then requestAlwaysAuthorization() method will be invoked.
For those using keys “when in use”, should use requestWhenInUseAuthorization() instead.
The location will keep on updating till the time user reads the permission message and decides whether to grant permission or not. This process is called a non-blocking call.
We will get the user result through our CLLocationManager Delegate and this method will be invoked:
func locationManager(_manager: CLLocationManager , didChangeAuthorization status: CLAuthorizationStatus){
if status == .authorizedAlways {
	if CLLocationManager.isMonitoringAvailable(for: CLBeaconRegion.self) {
		if CLLocationManager.isRangingAvailable() {
			//do something
			}
		}
	}
}
The didChangeAuthorization method does nothing as we have not added anything inside it. For now, we have just focussed on getting the authorization of the user and monitor it on our device and tell how far we have reached from our current position.


-
over 8 years ago
Really cool!! I hope, I could make the same by myself :D -

-
about 8 years ago
Thanks for instructions! I will try here. Hope I will manage to doi by myself. -

2 Comment(s)