Hello friends, welcome to findnerd. Today I am going to tell you how to create repository and upload files to Bitbucket using command line in Ubuntu 14.04. Before creating repository to Bitbucket, you need to have an account first.
Getting started
Step 1: Sign up to Bitbucket. Click on this url to sign up: https://bitbucket.org/account/signup/
Step 2: Now enter your email, password and full name to continue your registration.
Step 3: When your registration is complete, verify your email address.
Creating Repository
Step 1: Login to Bitbucket. Click on this url to login: https://bitbucket.org/account/signin/?next=/account/signup/
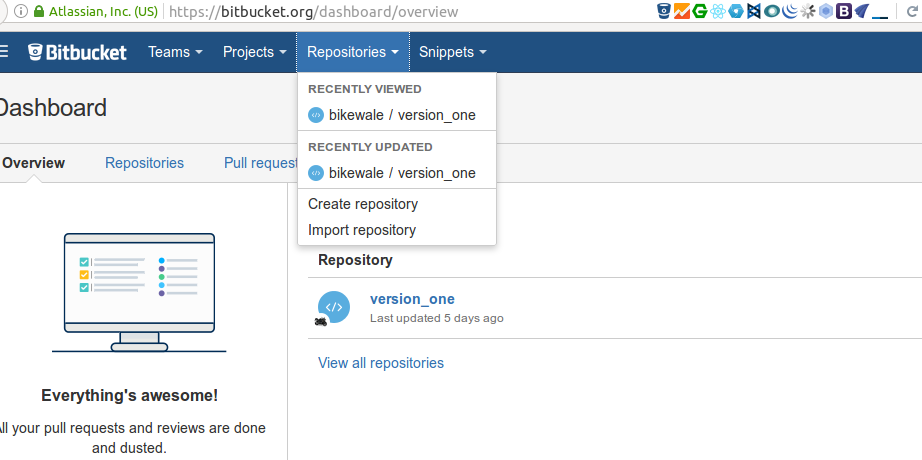
Step 2: Now click on Repositories and 'Create repository' as shown below:
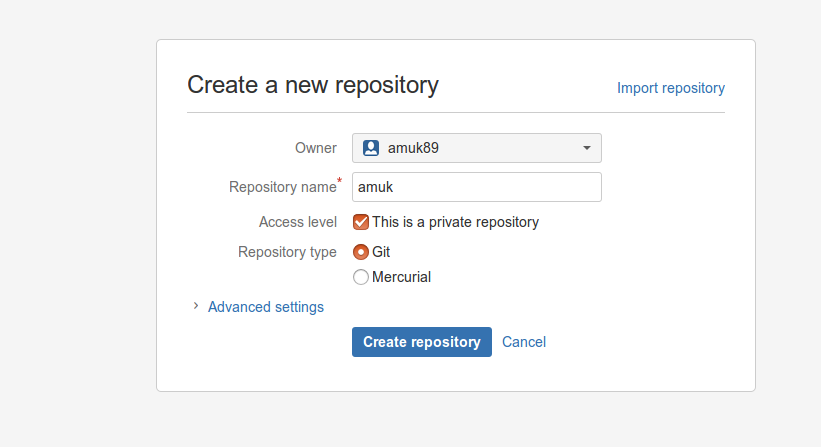
Step 3: Create new repository by selecting Owner, giving repository, name etc as shown below:
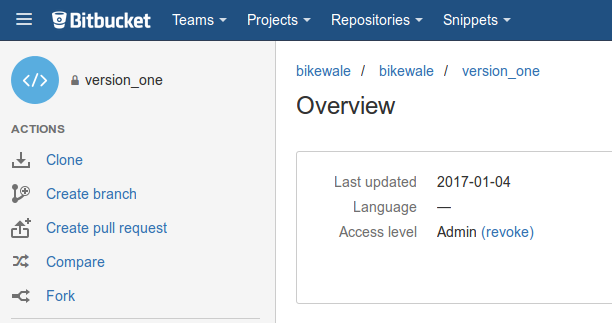
Step 4: In order to clone repository you need to click on your repository and select clone option from the Actions menu. Please have a look on the screen shot below:
Step 5: Click on clone. Now it will show you the pop-up dialog box for cloning as shown below:

Step 6: Now copy this command and go to your terminal window by pressing ctrl+alt+t
Step 7: Go to your directory where you want to create a new project. Example: /var/www/html/version_one. Here version_one is the name of the project.
Step 8: Now paste this copied command and hit Enter:
git clone https://amuk89@bitbucket.org/bikewale/version_one.git
Step 9: After pressing Enter button from the keyboard, prompt will come up for password. Please enter your bitbucket password. Now your repository has been cloned successfully.
Uploading files to Bitbucket repository
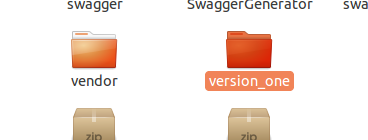
In order to upload files to the bitbucket repository, you need to add project to the local repository also. Now you can create project inside the version_one folder (bitbucket repository name as mentioned above). As shown below, you need to paste your project inside version_one folder.
Step 1: Now in the terminal window go to the repository:
$ cd /var/www/html/version_one/
Step 2: Create a new file by entering following lines with content
$ echo "Hello World" >> amuk.txt
Your file has been created to the local repository folder.
Step 3: Now you need to check the status of the local repository. Now in order to compare your local repository project with the Bitbucket repository you need to use the command "git status" as shown below:
$ git status

On branch master
Initial commit
Untracked files:
  (use "git add <file>..." to include in what will be committed)
    locations.txt
nothing added to commit but untracked files present (use "git add" to track)
The file is untracked means it is not the part of your git repository .
Step 4: In order to track this file you need to add files using command:
$ git add amuk.txt
Step 5: Now you can check the status of the file:
$ git status
On branch master
Initial commit
Changes to be committed:
  (use "git rm --cached <file>..." to unstage)
    new file: amuk.txt
You can see that new file amuk.txt has been added and you can commit it .
Step 6: Commit the file by entering the following command in the terminal window:
$ git commit -m 'My First Commit'
[master 31f54aa] My First Commit
 1 file changed, 1 insertion(+)
 create mode 100644 amuk.txt
Step 7: Now Enter the git push command origin master command in order to create a file to the bitbucket repository as shown below:
$ git push origin master
Password for 'https://amuk89@bitbucket.org':
Counting objects: 5, done.
Delta compression using up to 4 threads.
Compressing objects: 100% (2/2), done.
Writing objects: 100% (3/3), 319 bytes | 0 bytes/s, done.
Total 3 (delta 0), reused 0 (delta 0)
To https://amuk89@bitbucket.org/bikewale/version_one.git
   b045afe..31f54aa  master -> master
Now your commits are reflected to the Bitbucket repository.
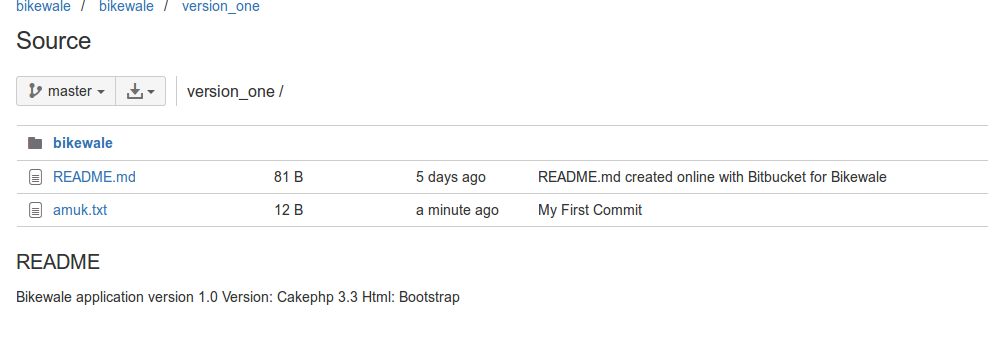
All done!
Thanks for reading the blog.


2 Comment(s)