-
Command Bar in Windows Phone 8.1
over 9 years ago
Command Bar is an interface control which can provide multiple options in the form of icons and menus in windows phone application. Icon options are represented as PrimaryCommands and menu options are as SecondaryCommands.
Adding a CommandBar
Let's create a new Windows Phone project and select "Blank App" from the project types. Provide suitable name and location to the project and then click OK. Open MainPage.xaml in the designer and click on "Document Outline" option on the left side of the Visual Studio.
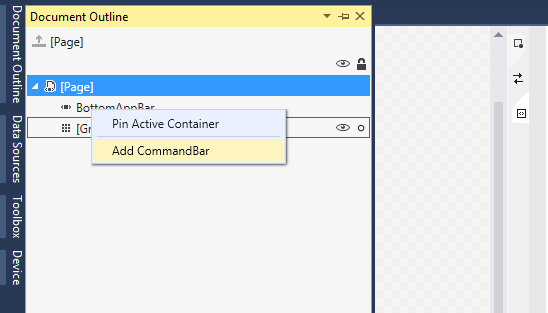
As shown in the above image, right click on BottomAppbar option and select "Add CommandBar" from the context menu. You'll notice that it automatically generates the following XAML in your file.
<Page.BottomAppBar>
    <CommandBar>
        <AppBarButton Icon="Accept" Label="appbarbutton"/>
        <AppBarButton Icon="Cancel" Label="appbarbutton"/>
    </CommandBar>
</Page.BottomAppBar>
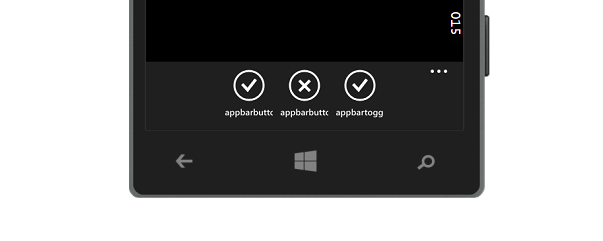
Now suppose we want to add one toggle button in the Command Bar. To do so open "Document Outline" then right click on PrimaryCommands and select "Add AppBarToggleButton". You'll notice that AppBarToggleButton gets added after Cancel AppBarButton. Now run your project in Emulator and the output will be something as shown in the following image. Click on ellipses next to the icons and you'll see the label with the icons.
Adding Secondary Commands
Now let's see how secondary commands are added in the app and how they are different from primary commands. Again open "Document Outline", right click on SecondaryCommands select "Add AppBarButton".
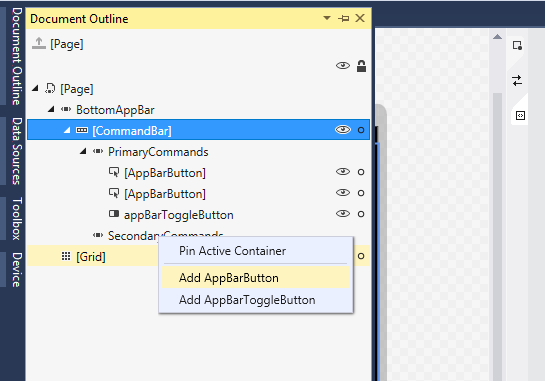
Now you'll see addition of "CommandBar.SecondaryCommands" tag inside CommandBar tag. It will contain all controls for secondary command.
<Page.BottomAppBar>
    <CommandBar>
        <CommandBar.SecondaryCommands>
            <AppBarButton x:Name="appBarButton" Label="appbarbutton"/>
        </CommandBar.SecondaryCommands>
        <AppBarButton Icon="Accept" Label="appbarbutton"/>
        <AppBarButton Icon="Cancel" Label="appbarbutton"/>
        <AppBarToggleButton x:Name="appBarToggleButton" Icon="Accept" Label="appbartogglebutton"/>
    </CommandBar>
</Page.BottomAppBar>
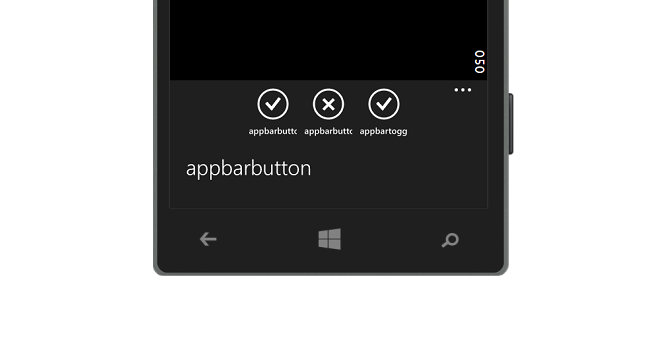
Now the app will look like as shown in the following image. Remember by default secondary command controls are not visible, we need to click on ellipses(...) next to the primary command icons to view secondary commands.
In the same way we can add more secondary command controls and they will get added inside "CommandBar.SecondaryCommands" tag.
Changing Icons and Label
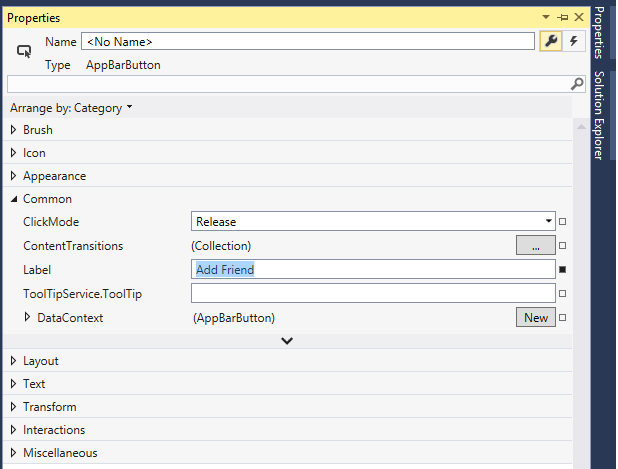
Select any of the control from Command Bar from the XAML and press F4 to open properties window. Expand the Icon category and select Symbol and then choose a suitable one from the dropdown and that's it. Once done you'll notice that Icon property is set with the selected value. As shown in the following image, I have selected AppBarButton with Accept icon and trying to set icon as AddFriend.

AppBarButton before changing Icon<AppBarButton Icon="Accept" Label="appbarbutton"/>AppBarButton after changing Icon
<AppBarButton Label="appbarbutton" Icon="AddFriend"/>
Now to change label of controls, again select the control in the designer and press F4. Under the Common category you can change the Label value with appropriate text.
Binding event handler
Select the control from the designer and press F4 or after selecting control open Properties window from the right side of the Visual Studio. Now select event section from the Properties window as shown in the following image.
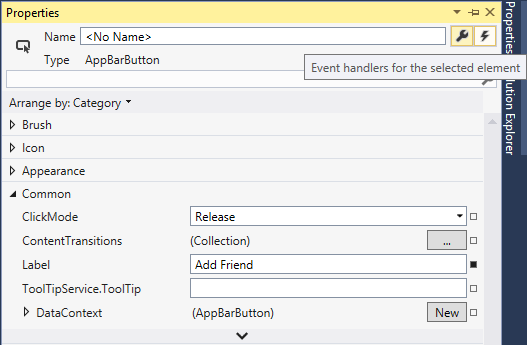
In the event section you can generate any of the available events. Let's select Click event from the list and double click on the space available on the right side.
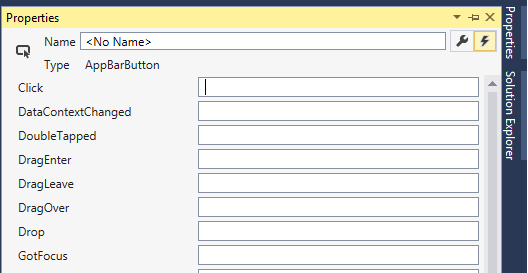
You will be redirected to the code behind file and the cursor will positioned inside the generated event where you can write appropriate code.
While providing Click(or other) events for buttons, you must consider providing unique Name to the controls like I did for the Cancel button as follows.<AppBarButton Icon="Cancel" Label="appbarbutton" x:Name="btnCancel"/>Now if I'll generate Click event like before, it will result in the following.

Now it's much easier to identify the purpose of event(s) in the code behind. Hope this article helped you in getting better understanding of Command Bar in windows phone 8.1 application.


0 Comment(s)