-
How to make a penguin in illustrator
over 9 years ago
In this tutorial we'll learn how to make a penguin in illustrator.
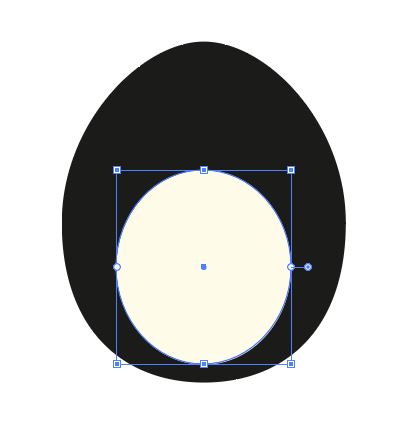
Step 1: Take a ellipse tool and draw a oval on the canvas. Now goto direct selection tool and select the bottom anchor point of the oval, drag the point slightly upward. filled with black color.

Step 2: Make another oval inside the first one. filled with light yellowish color.
Step 3: Now we have to make the penguin eyes. so goto the ellipse tool and make a two circle. Goto the window > pathfinder and click on it. open a dialog box of pathfinder, Just select the both circles and click on unite option. Linear gradient are used inside the circles.

Step 4: Here we make a eyeball. Draw a circle filled with black color. Draw another circle inside the first one filled with white color. take a pen tool and make the shape of eyebrows filled with black color.

Step 5: Again draw a oval to make a penguin's bill. take a direct selection tool, select the bottom anchor point and slightly down. this portion filled with orange color. take a pen tool to draw the shape on bill.

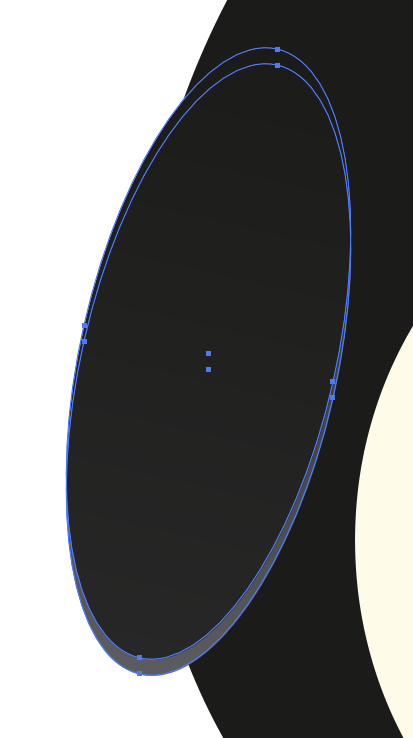
Step 6: we need to make a hand. so take a ellipse and draw a oval filled with linear gradient. again take a pen tool to make a shape on hand. Now copy the hand and paste right side.
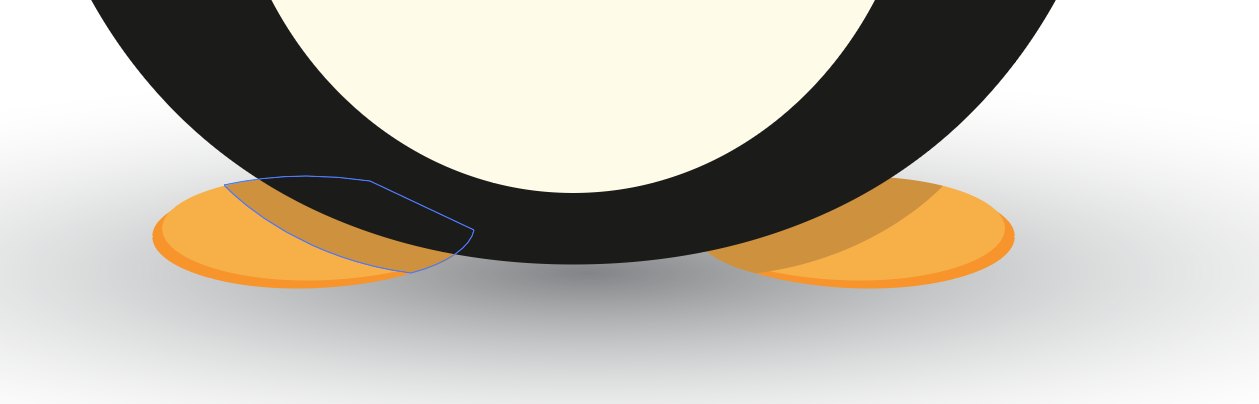
Step 7: Draw a oval to make a penguin's feet and filled with orange color. Draw the shapes on the feet to make a shadow.
Here, We create the penguin character.


0 Comment(s)