We can create and use menus in wordpress by simply following below steps.
Step 1:- first we have do put our credential and get login to our wordpress dashboard.
Step 2:- then we have to select menu option from the 'Appearance' menu which is located on the left side of the dashboard by selecting menu option we will go to the menu editor.
Step 3:- then we have to select Create a new menu option which is at the top of the page.
Step 4:- We can give any name to our menu which we want in the Menu Name box.
Step 5:- then we have to click on the Create Menu button.
By following above steps our custom menu has been define .
Adding items to the menu
we can add different link to our menu, these links are on the panes left hand side of the menu we are currently editing .
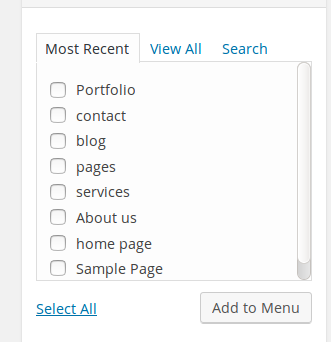
Step 1:- then we have to locate we pane whose name is pages.
Step 2:- then we have to select View All link to see all the pages .
Step 3:- Then we have to select that page which we want to add in our menu by clicking on the checkbox next to those pages.
Step 4:- Then click Add to Menu button for adding selecting page to our menu.

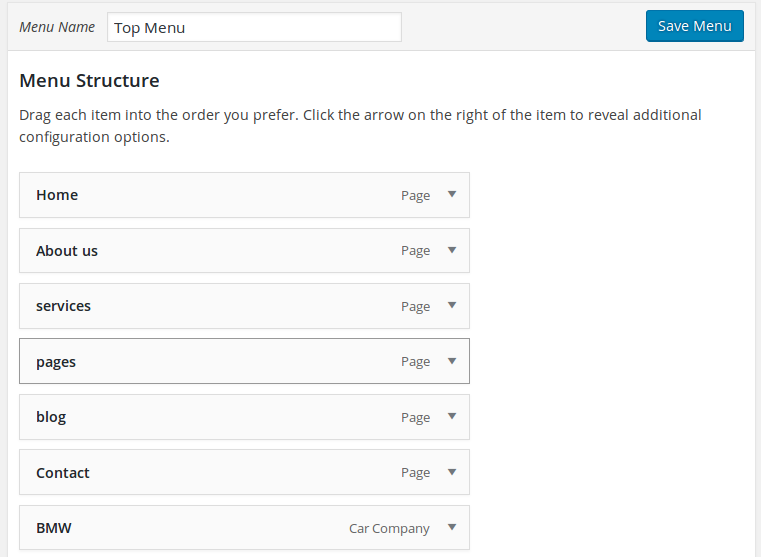
Then our menu will show like this.

Step 5:- Then we have we have to check primary navigation checkbox which is below menu structure.

Step 6:- At last we have to save menu by clicking on Save Menu button.
Including menu to our site
For including menu to our page we have to put below code wherever we want to add that menu.
<?php wp_nav_menu( array( 'container' => '', 'container_class' => '', 'container_id' => '', 'items_wrap' => '%3$s', 'theme_location' => 'primary' ) ); ?>
- container_class
It is a class that is provided to the container.
- container_id
It is the id that is provided to the container.
- theme_location
It is a theme location to be utilized.
- items_wrap
It characterised how the list items must be wrapped.
At last our menu will look like this in our site .

0 Comment(s)