This blog will help you to understand how to install securely phpMyAdmin to manage your databases on Ubuntu 14.04
How to install phpMyAdmin:
Step 1: First you need to update the package index on your server with this command:
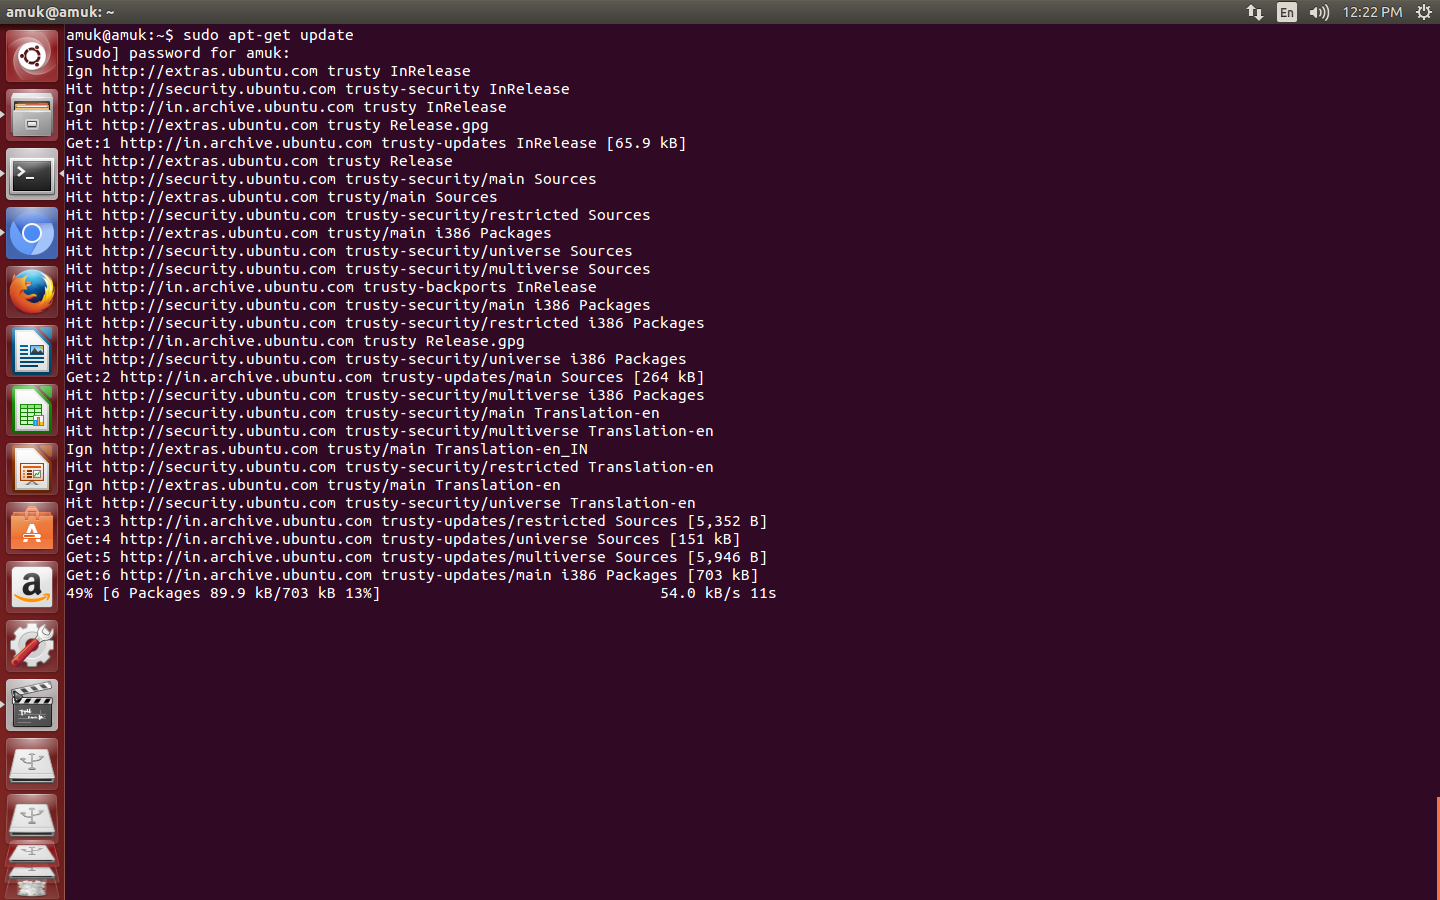
Now write this command to install phpMyAdmin:
$ sudo apt-get install phpmyadmin
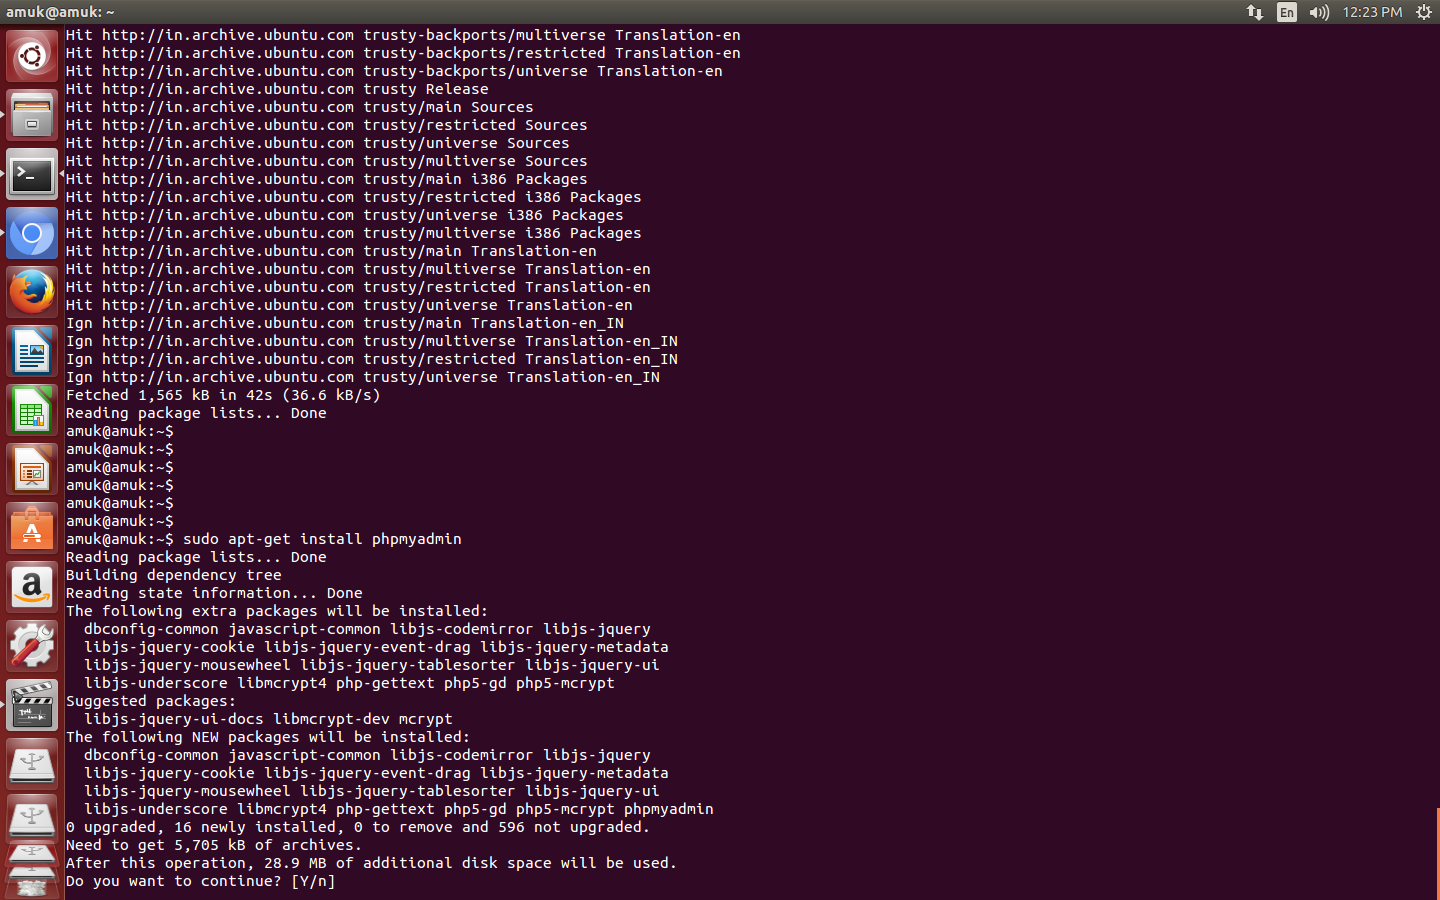
Now Press Y to continue installation
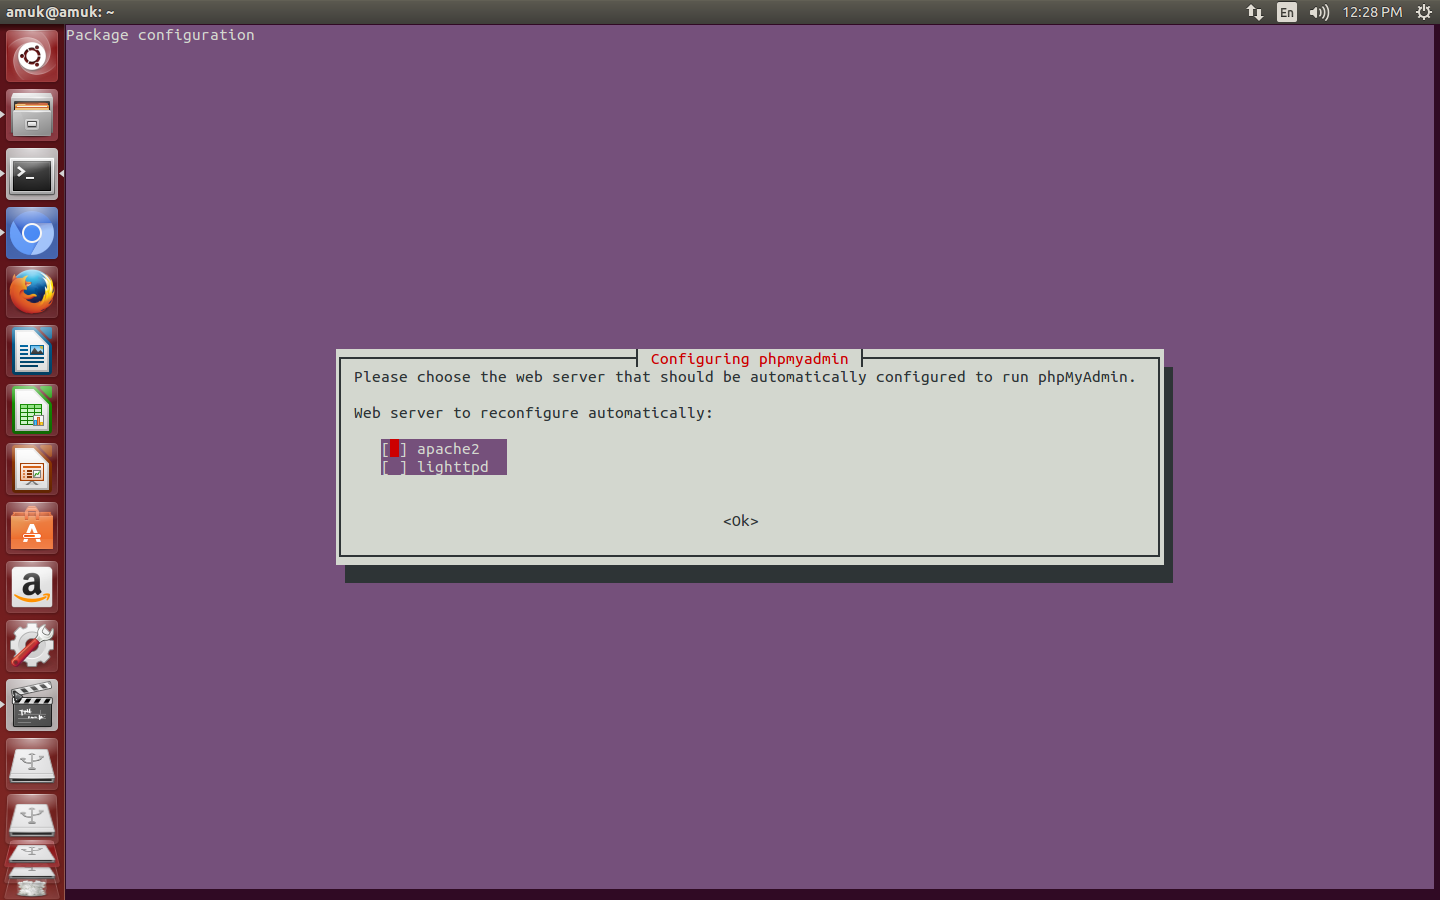
- For the server selection, choose apache2.
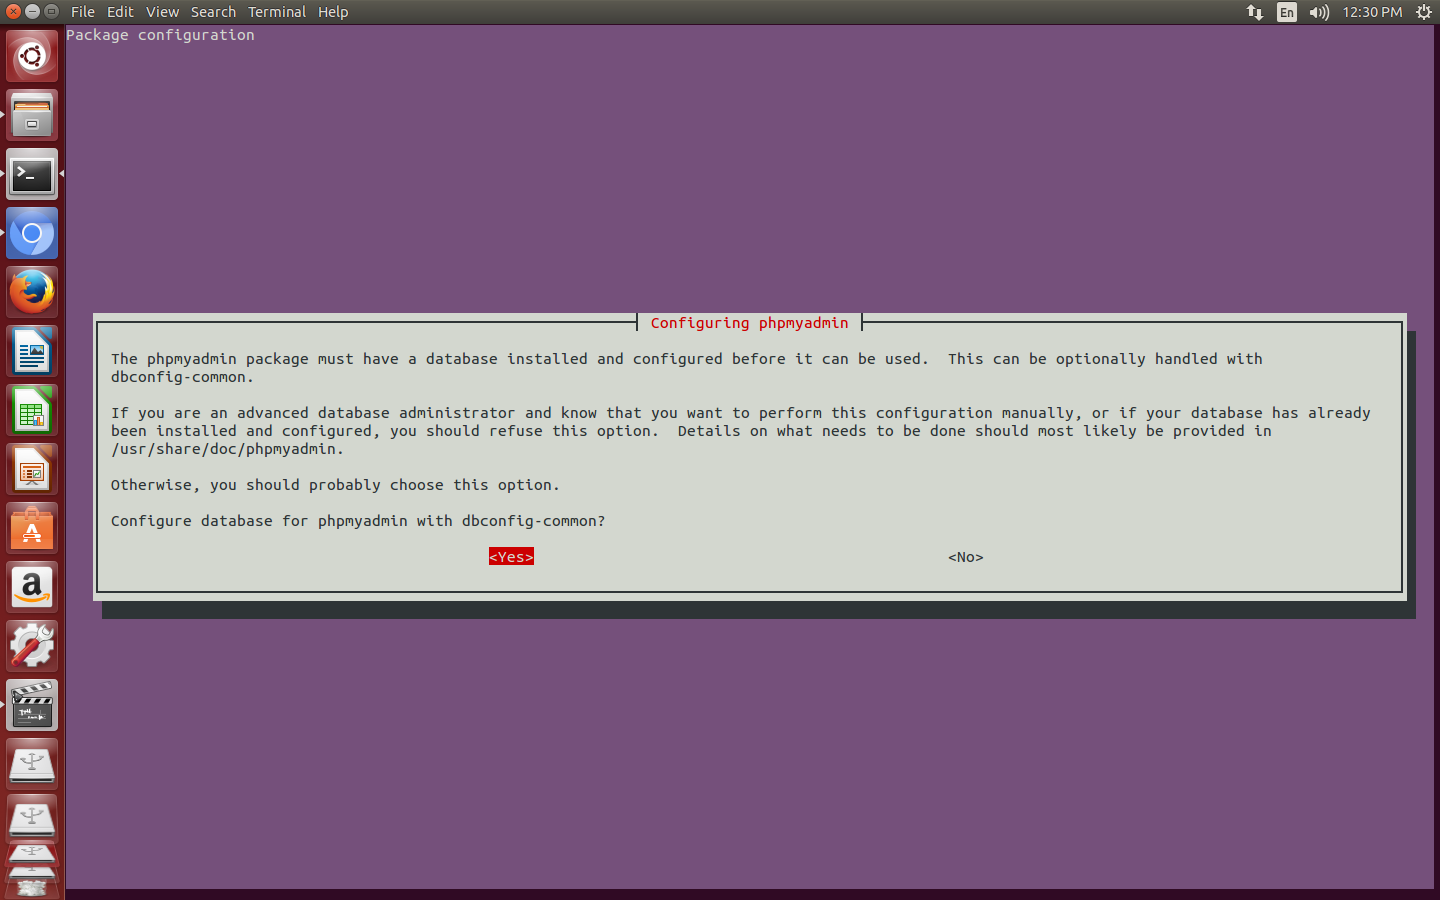
- Select yes when asked whether to use
dbconfig-common to set up the database
- You will be prompted for your database administrator's password
- You will then be asked to choose and confirm a password for the
phpMyAdmin application itself
After installation is complete, now we need to do is explicitly enable the php5-mcrypt extension by writing this command:
$ sudo php5enmod mcrypt
Now please restart Apache for your changes to be recognized:
$ sudo service apache2 restart
Now access the web interface by typing localhost/phpmyadmin. You will see error "Page Not Found". This error comes because phpmyadmin is not included in apache2.conf. Write the following commands:
$ sudo nano /etc/apache2/apache2.conf
Now add this line somewhere:
Include /etc/phpmyadmin/apache.conf
Now restart apache again.
$ sudo service apache2 restart
All done! Now access the web interface: localhost/phpmyadmin or server-ip-address/phpmyadmin and you will see the following page:
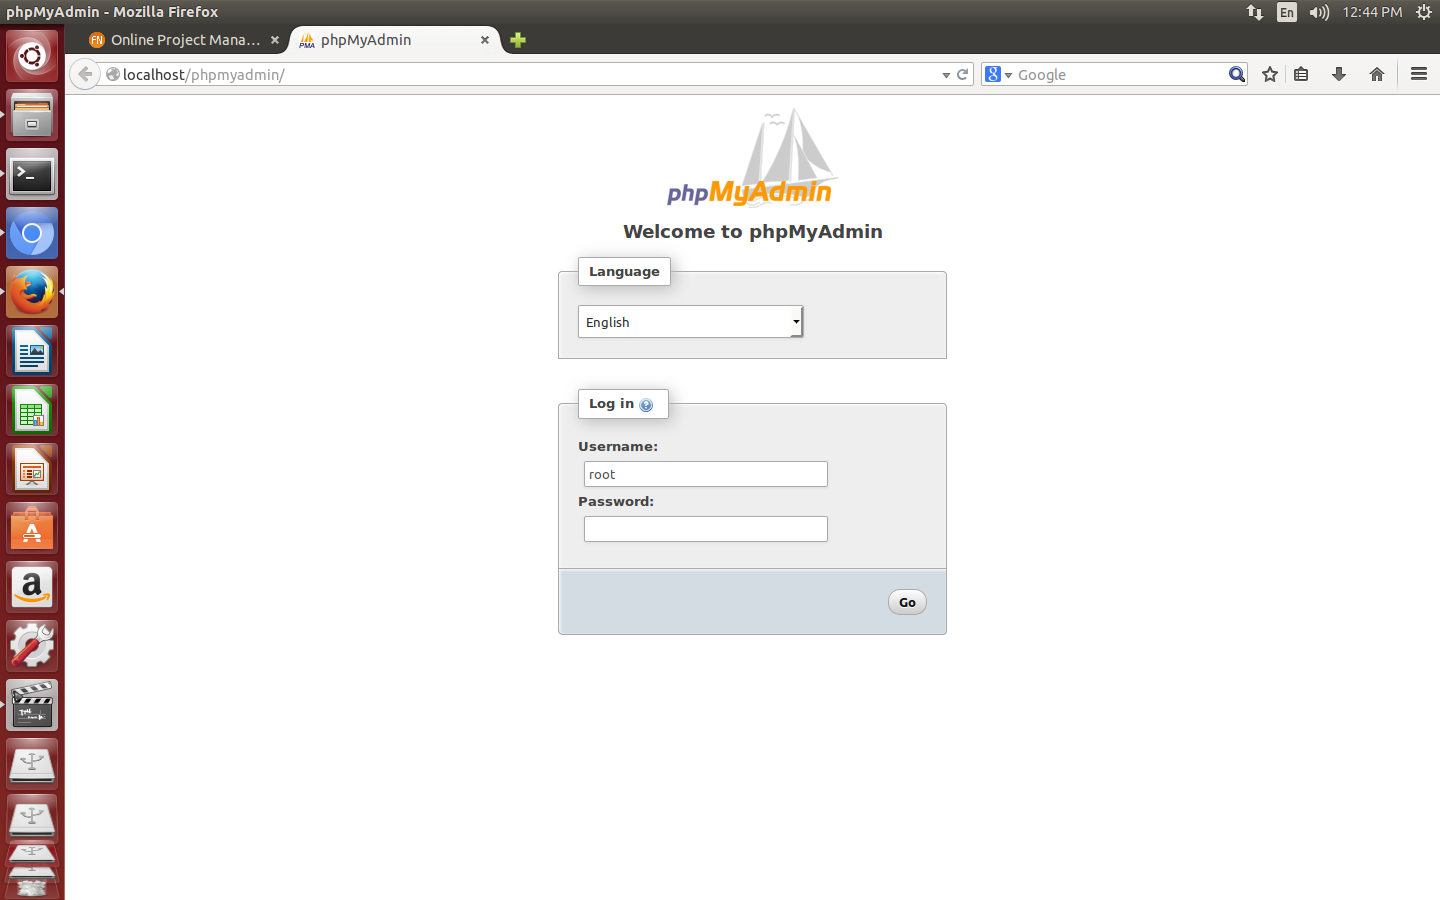
Thanks for reading the blog
0 Comment(s)