This blog is part of 1 Tute Sets.
New
Tute set by tom.woodie@tutanota.com
13 Blogs-
How to Replace Data Globally Using Azure Cosmos DB in .NET Application
over 8 years ago
Introduction In this blog will learn about Azure Cosmos DB key feature of replicating data globally, along with ways to achieve it. Also, will explore Manual Failover & Failover priorities with setting up using Azure portal.
Prerequisite
- Microsoft Azure Subscription
Quick Overview Azure is ubiquitous, and spreading widely & rapidly across the globe. With this pace there comes demand to leverage this geo presence in to enterprise applications.
Azure Cosmos DB is available at all the present locations. A new region comes in, and Azure cosmos DB is available at the same place within 30 mins.
This limits with geo fencing regions like China & Germany where data compliance plays key role. But it too has a provision, through policy-based geo fencing.
Once selecting the default consistency of database, we can achieve replication of data globally with few clicks in fewer minutes. There is no limitations for adding regions for database, we can have up to almost every permissible region as your read region. It enables to configure the for "read", "write" or "read/write" regions.
Replicating data is possible through multiple ways like using Azure portal & programming language SDKs.
Adding global database using Azure portal.
For the brevity of this blog, have created an Azure Cosmos DB with Graph database API naming it as azure-cosmos-demo, under resource group name ‘cosmosdemo’. It has ‘East US 2’ as its read & write locations.

Now, for replicating data,
Navigate to ‘Replicate data globally’ option under Settings in resource blade.
Here you can see a map with markings, as Azure available regions. Also, it displays list of Write & Read regions associated.

Blue Icon with Tick presents our existing region. In our case its, East US 2.

Click on any available regions, available as small box, to replicate data in to that particular geo locations.
As you click over it, this would get added in below Read region list.
Also, you can redo your action clicking on delete icon coming with listed locations.
Note: This will not get applicable until you click on Save.
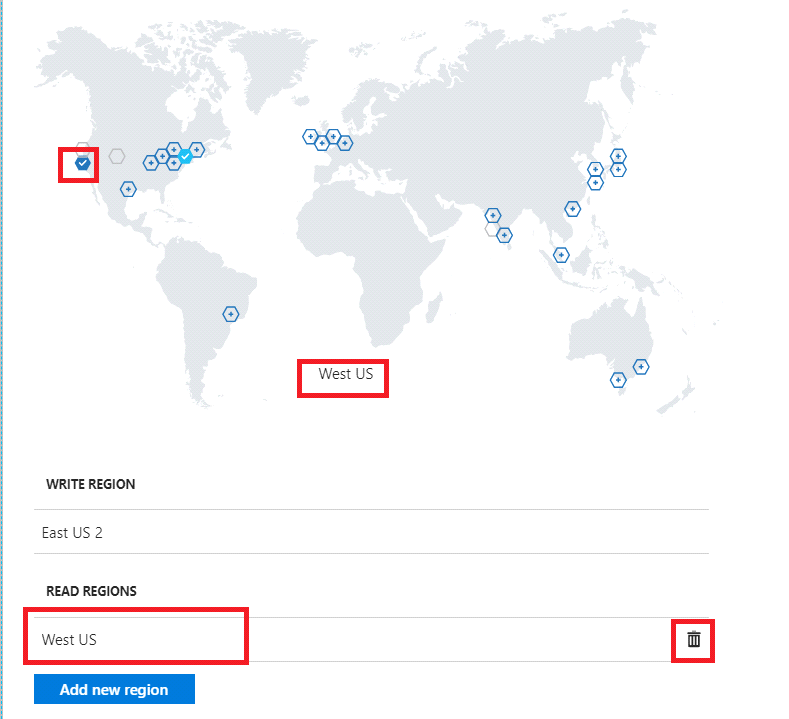
Also, you can click on ‘Add new region’ blue button at bottom, select from list of available regions and click OK
Also, you can redo your action clicking on delete icon coming with listed locations.

Click on SAVE once done with selecting region,

It will take fewer minutes to Update, and will be notified once done.
Notice, after adding a second region, the Manual Failover option gets enabled.

We can use this option to test the failover process, also we can change the primary write region by using Manual Failover option.
Click Manual Failover. This will present us with blade for triggering manual failover to our write region.
To do so, click on Read Region listed location, in our case its West US
Check the box with message presenting us to agree with triggering a failover on current write region, in our case its East US 2
Click OK.

This will take fewer minutes to trigger. Will be notified once done with Manual Failover.
Once done, change in Read region & Write Region can be seen here.

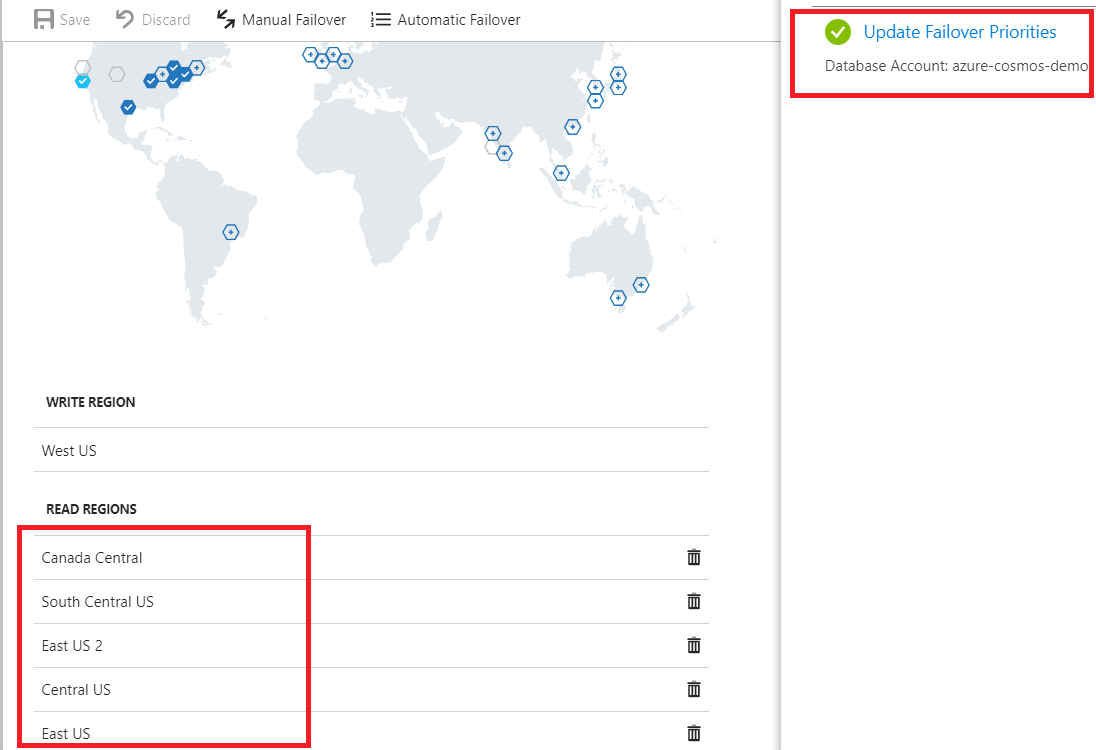
Now let’s add few more region, and once added region counts goes to 3, this will enable Failover Priorities option for Resource, allowing us to change the failover order for read.
Click on Failover Priorities option to change the priorities.

Drag region, using icon shown in below image to change priority orders.
Click OK

Within fewer seconds priorities will be updated.
Summary
With the power of Azure CosmosDB we can have our data always available by associating multiple read region. Again, this too comes with seamless implementation, with fewer clicks. Would recommend to learn more about this supercool feature and explore Azure CosmosDB with following above steps.
Happy Learning, thanks for reading.
This article is shared by asp.net development company in which explanation about Azure Cosmos DB key feature of replicating data globally is described. If you have any doubt or want to know more about the technology, kindly comment below.


0 Comment(s)