-
Learn How to Integrate Facebook Login SDK Using Swift in iOS - Easy Tutorial
almost 8 years ago
To integrate your iOS app with Facebook for allowing login from Facebook, Share and other features we need integration by Facebook login SDK. So in this tutorial I am providing you simple steps to integrate Facebook Login SDK using swift in iOS.
Lets see how:
Step 1. Create a project in Xcode in which you want to integrate Facebook sign-in SDK. First of all, create a pod file and install pods of Facebook SDK this can be done easily by given below steps:-
- Open terminal app in the system -> write command cd xyz/… (path of project in system)
pod init (this command use to create a pod file. Open pod file with Xcode you are using)
- Write few lines in created pod file:-
pod 'FacebookCore'
pod 'FacebookLogin'
pod 'FacebookShare'- Go back to terminal app and write command:-
pod install
- After successful pod installation, you will get message in terminal:-
Pod installation complete! There are 3 dependencies from the Podfile and 18 total pods installed.
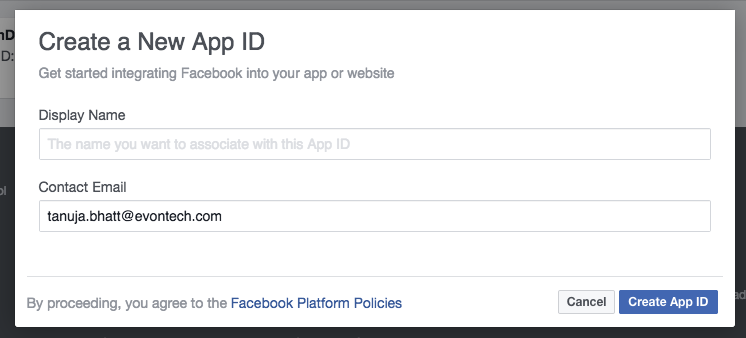
Step 2. Before preceding towards the coding part first we need to get the FacebookAppID and for this, we have to register the app in https://developers.facebook.com/. Login with your Facebook credentials and you will get a screen where you can register your application.- Go to My App menu and click add new app
- Write name you want to add with the app id and then create app id.
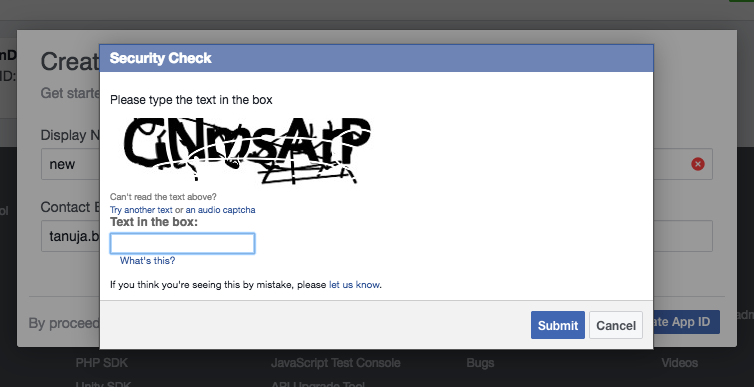
- You will get a popup of security check after that submit and you will get the app id
- Copy app id and get back to the Xcode.
Step 3. Go to info.plist and include below-mentioned code as in this plist we will include the FacebookAppID and FacebookDisplayName so that application can connect with the registered application id.
<?xml version="1.0" encoding="UTF-8"?>
<!DOCTYPE plist PUBLIC "-//Apple//DTD PLIST 1.0//EN" "http://www.apple.com/DTDs/PropertyList-1.0.dtd">
<plist version="1.0">
<dict>
    <key>CFBundleDevelopmentRegion</key>
    <string>en</string>
    <key>CFBundleExecutable</key>
    <string>$(EXECUTABLE_NAME)</string>
    <key>CFBundleIdentifier</key>
    <string>$(PRODUCT_BUNDLE_IDENTIFIER)</string>
    <key>CFBundleInfoDictionaryVersion</key>
    <string>6.0</string>
    <key>CFBundleName</key>
    <string>$(PRODUCT_NAME)</string>
    <key>CFBundlePackageType</key>
    <string>APPL</string>
    <key>CFBundleShortVersionString</key>
    <string>1.0</string>
    <key>CFBundleURLTypes</key>
    <array>
        <dict>
            <key>CFBundleURLName</key>
            <string></string>
            <key>CFBundleURLSchemes</key>
            <array>
                <string>fb1596956347002525</string> // put facebookappid preceded with fb
            </array>
        </dict>
    </array>
    <key>CFBundleVersion</key>
    <string>1</string>
    <key>FacebookAppID</key>
    <string>1596956347002525</string> // change this id with you register facebookappid
    <key>FacebookDisplayName</key>
    <string>LoginDemo</string>
    <key>LSApplicationQueriesSchemes</key>
    <array>
        <string>fbauth2</string>
    </array>
    <key>LSRequiresIPhoneOS</key>
    <true/>
    <key>UILaunchStoryboardName</key>
    <string>LaunchScreen</string>
    <key>UIMainStoryboardFile</key>
    <string>Main</string>
    <key>UIRequiredDeviceCapabilities</key>
    <array>
        <string>armv7</string>
    </array>
    <key>UISupportedInterfaceOrientations</key>
    <array>
        <string>UIInterfaceOrientationPortrait</string>
        <string>UIInterfaceOrientationLandscapeLeft</string>
        <string>UIInterfaceOrientationLandscapeRight</string>
    </array>
</dict>
</plist>
Step 4. Now after info.plist we will open AppDelegate.swift file and import FacebookLogin and FBSDKCoreKit framework and further code is given below:-
//
//  AppDelegate.swift
//  FacebookLogin
//
//  Created by elcaptain1 on 8/3/17.
//  Copyright  2017 Tanuja. All rights reserved.
//

import UIKit
import FBSDKCoreKit
import FacebookLogin

@UIApplicationMain
class AppDelegate: UIResponder, UIApplicationDelegate {

    var window: UIWindow?


    func application(_ application: UIApplication, didFinishLaunchingWithOptions launchOptions: [UIApplicationLaunchOptionsKey: Any]?) -> Bool {
        // Override point for customization after application launch.
         FBSDKApplicationDelegate.sharedInstance().application(application, didFinishLaunchingWithOptions: launchOptions)
        return true
    }

    func applicationWillResignActive(_ application: UIApplication) {

        // Sent when the application is about to move from active to inactive state. This can occur for certain types of temporary interruptions (such as an incoming phone call or SMS message) or when the user quits the application and it begins the transition to the background state.
        // Use this method to pause ongoing tasks, disable timers, and invalidate graphics rendering callbacks. Games should use this method to pause the game.
    }

    func applicationDidEnterBackground(_ application: UIApplication) {
        // Use this method to release shared resources, save user data, invalidate timers, and store enough application state information to restore your application to its current state in case it is terminated later.
        // If your application supports background execution, this method is called instead of applicationWillTerminate: when the user quits.
    }

    func applicationWillEnterForeground(_ application: UIApplication) {
        // Called as part of the transition from the background to the active state; here you can undo many of the changes made on entering the background.
    }

    func applicationDidBecomeActive(_ application: UIApplication) {
         FBSDKAppEvents.activateApp()
        // Restart any tasks that were paused (or not yet started) while the application was inactive. If the application was previously in the background, optionally refresh the user interface.
    }

    func applicationWillTerminate(_ application: UIApplication) {
        // Called when the application is about to terminate. Save data if appropriate. See also applicationDidEnterBackground:.
    }

    func application(_ app: UIApplication, open url: URL, options: [UIApplicationOpenURLOptionsKey : Any]) -> Bool {
        return FBSDKApplicationDelegate.sharedInstance().application(app, open: url, sourceApplication: options[UIApplicationOpenURLOptionsKey.sourceApplication] as! String, annotation: options[UIApplicationOpenURLOptionsKey.annotation])


    }


}
Step 5. Now last but not the least point which includes ViewController.swift file and in this file, we will create an action of facebook login button and fetch the detail of user from facebook and print in the console.
//
//  ViewController.swift
//  FacebookLogin
//
//  Created by elcaptain1 on 8/3/17.
//  Copyright  2017 Tanuja. All rights reserved.
//

import UIKit
import FacebookCore
import FacebookLogin
import FBSDKLoginKit


class ViewController: UIViewController{
var dict : [String : AnyObject]!
    override func viewDidLoad() {
        super.viewDidLoad()
        // Do any additional setup after loading the view, typically from a nib.
    }

    override func didReceiveMemoryWarning() {
        super.didReceiveMemoryWarning()
        // Dispose of any resources that can be recreated.
    }


    @IBAction func btnFacebookLogin(_ sender: AnyObject) {
        let loginManager = LoginManager()
        loginManager.logOut()
        loginManager.logIn([ .publicProfile, .email ], viewController: self) { loginResult in
            switch loginResult {
            case .failed(let error):
                print(error)

            case .cancelled:
                print("User cancelled login.")

            case .success(let grantedPermissions, _ , _):
                if (FBSDKAccessToken.current()?.userID != nil) {
                    if grantedPermissions.contains("email") {

                        let graphRequest:FBSDKGraphRequest = FBSDKGraphRequest(graphPath: "me", parameters: ["fields":"first_name,last_name, email, picture.type(large),id,name,hometown,locale,timezone,gender,birthday"])
                        graphRequest.start(completionHandler: { (connection, result, error) in
                            if (error != nil) {
                                print("Error \(error)")

                            }else{
                                print("values received from FB are : \(result)")
                                if let values = result as? NSDictionary {
                                    let email = values.object(forKey: "email") as? NSString
                                    let gender = values.object(forKey: "gender")
                                    let userName = values.object(forKey: "name")
                                    let socialId = values.object(forKey: "id") as! NSString
                                    print("Email id == \(email) Gender == \(gender) UserName == \(userName) SocialId == \(socialId)")

                            }
                        })

                    }
                    else{
                        print(Please share your email address", state: .error)
                    }
                }
                else{
                  print(User Id not available", state: .error)
                }
            }
        }
    }


}
Output:-
Screenshot of loading Facebook page after button click followed by the actual login process of Facebook. If already login then this type of screen will be shown otherwise login page will be visible.
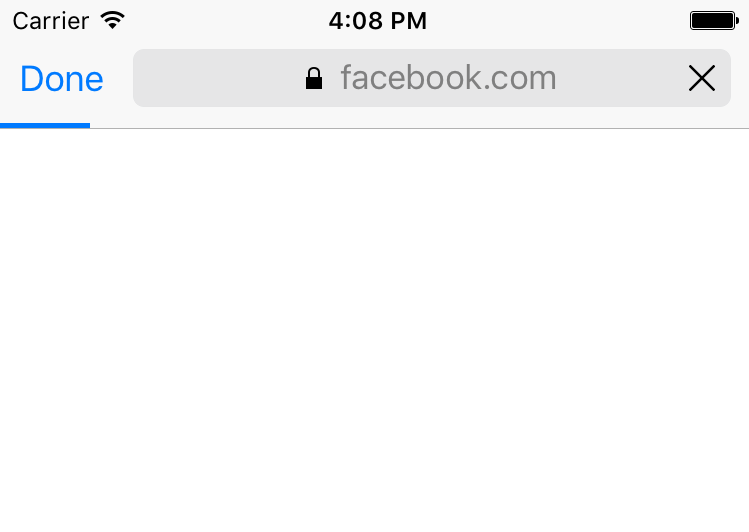
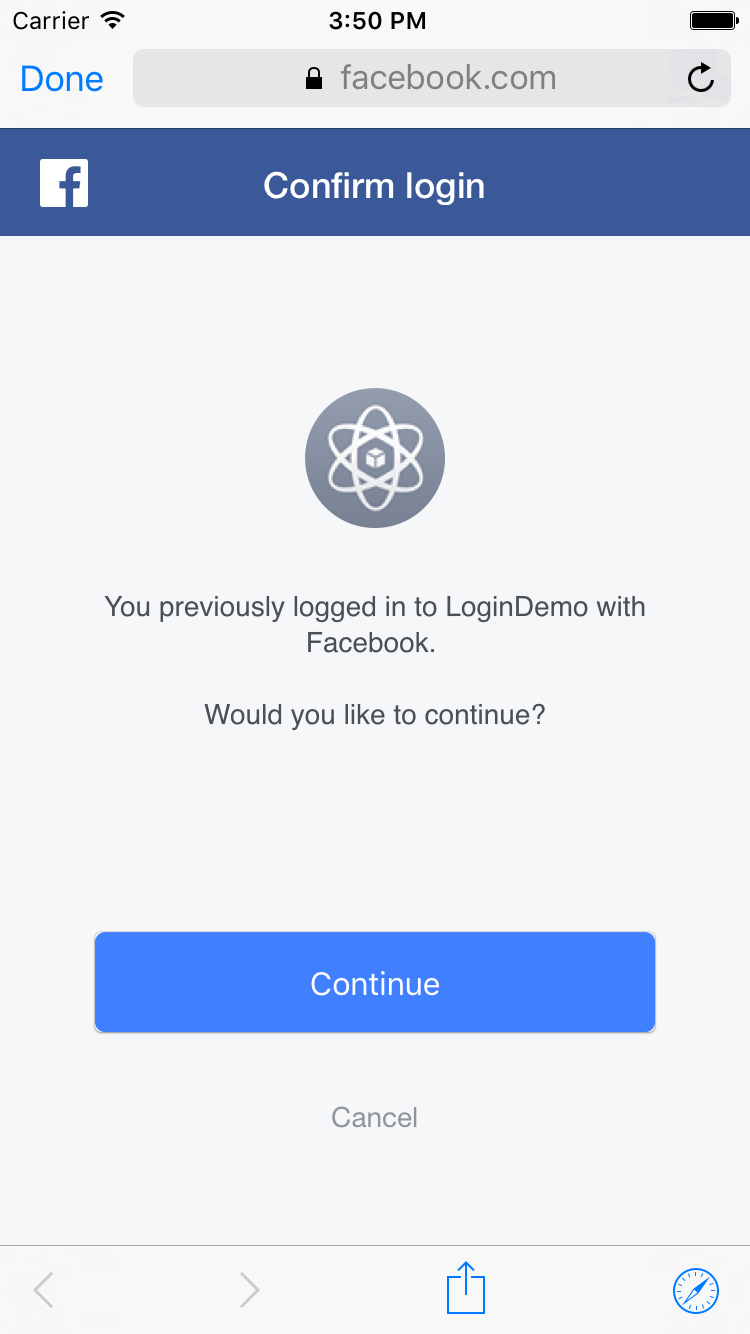
As user is already logged in so the application is confirming if user wants to continue or not with the help of given below screenshot:-


0 Comment(s)