-
How to create an automatic table of contents in Microsoft Word 2013
over 9 years ago
If you want to include the table of contents in word Doc.
First you have to choosing the heading styles — for example, Heading 1 for main headings, Heading 2 for subheadings, and Heading 3 (and so on) Microsoft Office Word searches for headings that match the style that you chose, formats and indents the entry text according to the heading style, and then inserts the table of contents into the document.
Use the below procedure if you are creating a document by using heading styles:
1. Click where you want to insert the table of contents, usually at the beginning of a document.
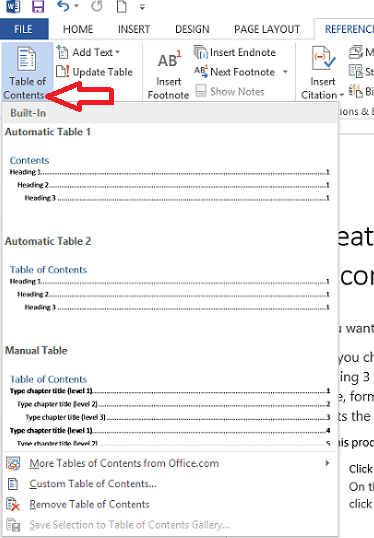
2. Click the References tab.

3. click the Table of Contents button and then choose an Automatic Table from the gallery of styles.
Update the table of contents
If you added or removed headings or other table of contents entries in your document, you can quickly update the table of contents, there are two ways to update table of content:
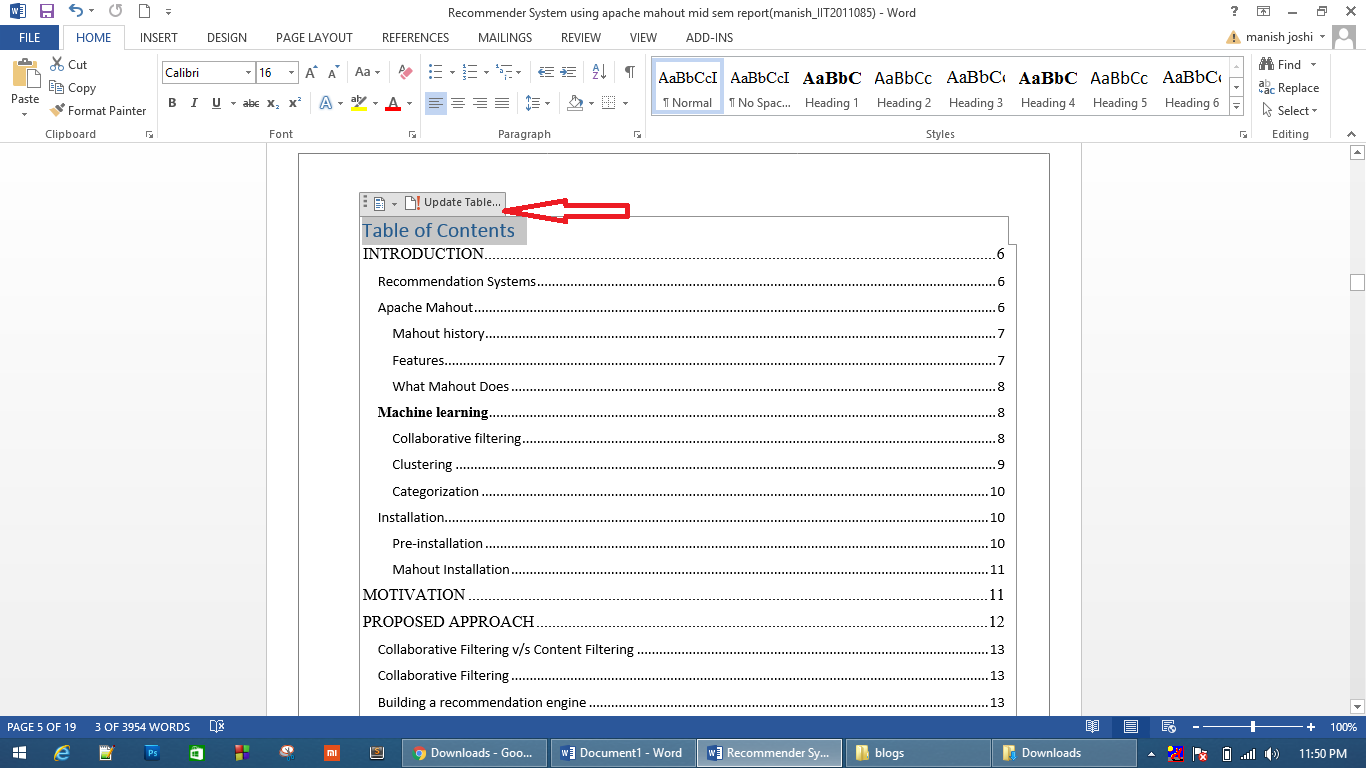
1. On the References tab, in the Table of Contents group, click Update Table.
.
2. Directly go to the table content created first and then click update table


0 Comment(s)