-
How to create a Garlic by using mesh tool in illustrator?
almost 9 years ago
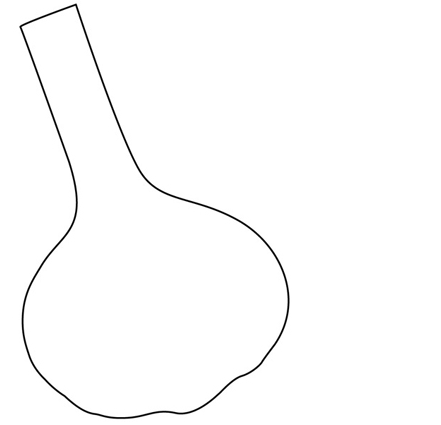
In this tutorial we'll learn how to make a garlic in illustrator.
Step 1: Open up a new document to draw the shape of garlic on the canvas. Filled with any color inside it.
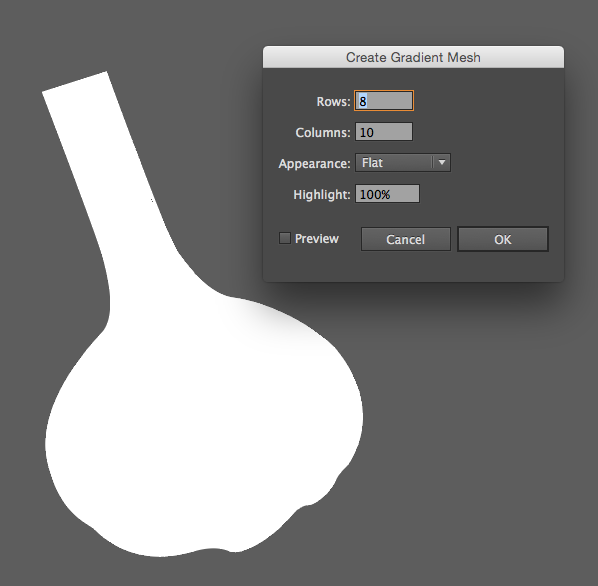
Step 2: To make a garlic add some nodes on the garlic. So goto the Object > Create Gradient and click on it. set the values of rows and column as shown in fig.
Step 3: Take a direct selection tool and move each node to mold the shape.

Step 4: Now by using direct selection tool select the each node individually and fill the color inside it.
Step 5: Draw the lines for creating garlic skin by using pen tool. Make the lines transparent by using transparency mode. Decrease the opacity to 80%.

Step 6: Draw the root of garlic by using pen tool and filled with linear gradient from dark to light brown.
Step 7: After this, it's time to make a shadow. Draw an oval and fill it with black and white gradient. Make sure the blending mode is to be overlay. Place the shadow under the garlic.
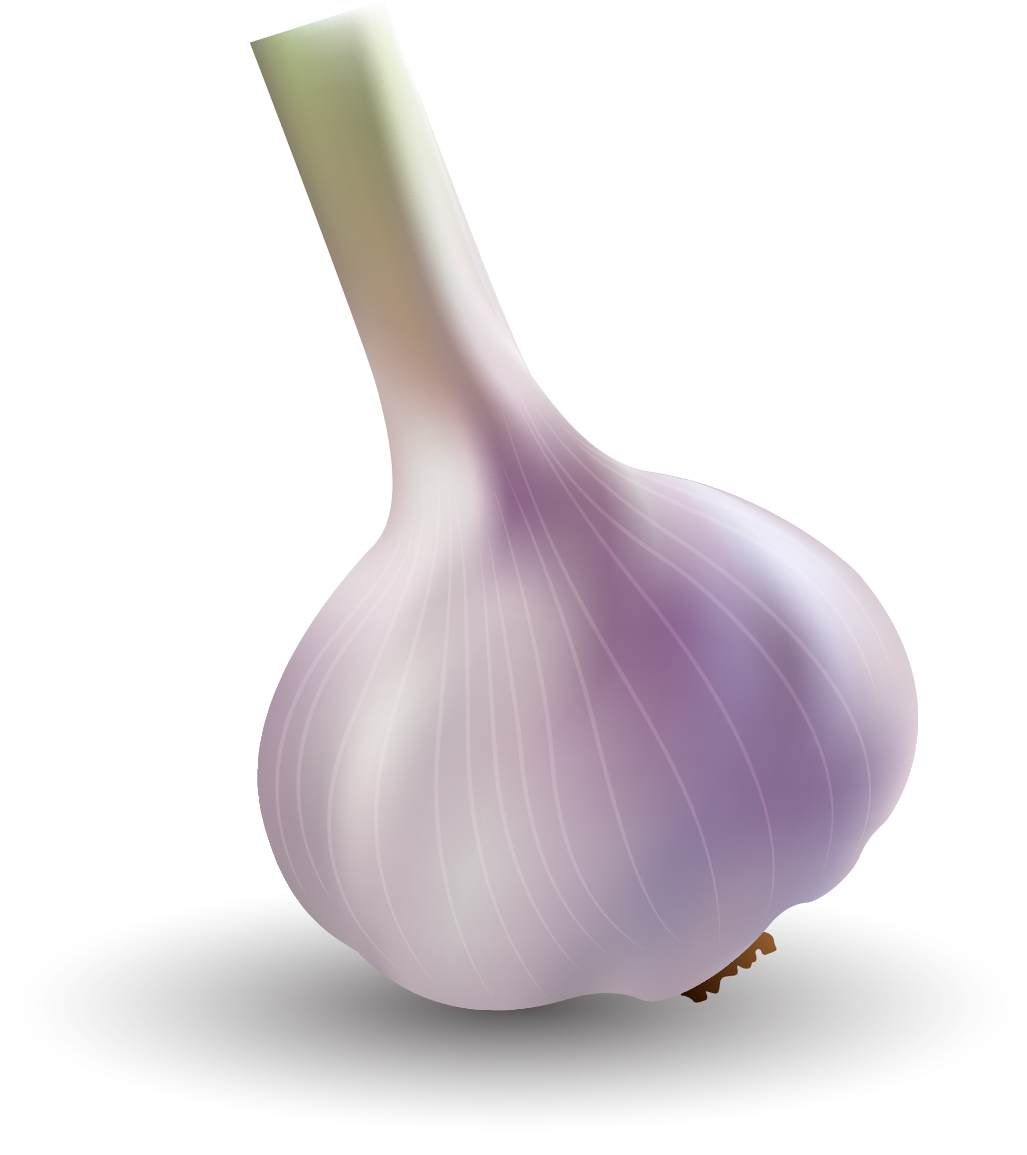
Here we can create the garlic in illustrator


0 Comment(s)