-
Create a bomb icon using illustrator
over 8 years ago
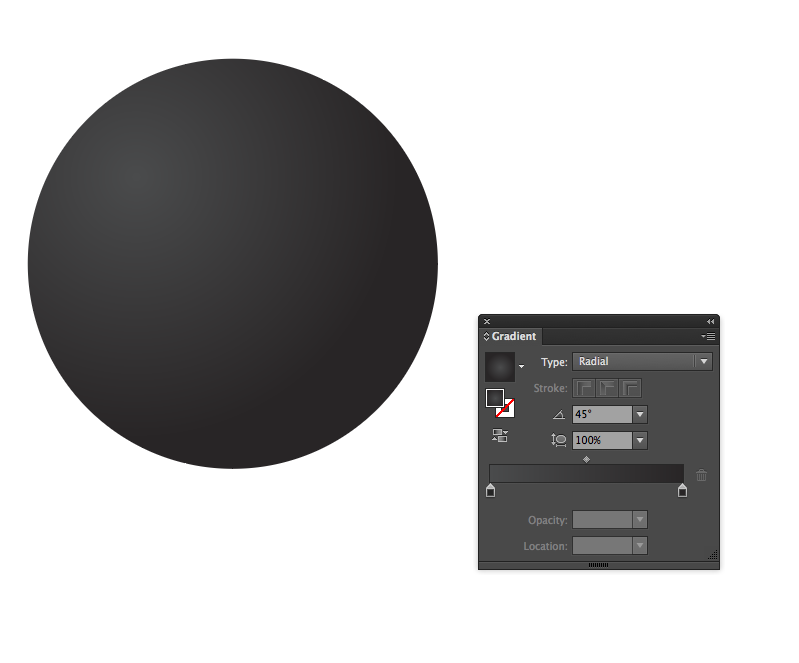
Step 1: Create a 500 by 500px document. Make a ellipse on the canvas and apply radial gradient on it. Image shown below for radial gradient.
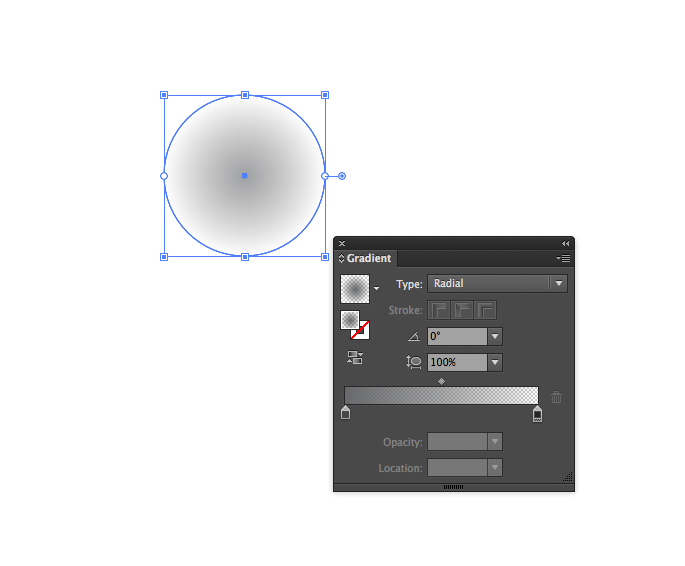
Step 2: Create another ellipse top left corner of the first ellipse. Again use radial gradient on it.
Step 3: Goto the Rounded rectangle tool and Create a rounded rectangle. Now select the rectangle and goto Effect > Warp > Arc. Now, go to Object > Expand Appearance. Use the linear gradient on it.

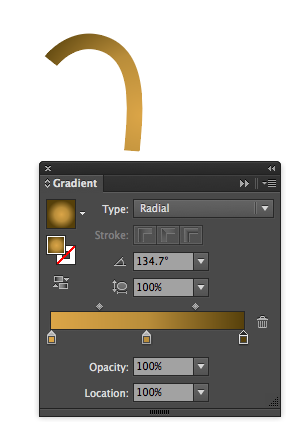
Step 4: Now, you’ll create the fuse. Take a Pen Tool(P), create a simple path. Expand this stroke. Filled with radial gradient shown in images.
Step 5: Now create a spark. Select the Ellipse Tool(L) and create a simple circle above the fuse. Add the pucker and bloat effect on that. So goto Effect > Distort & Transform > Pucker and bloat. Copy this spark and paste on the first one. Resize the new spark and apply blending mode, Goto Object > Blend > Make.
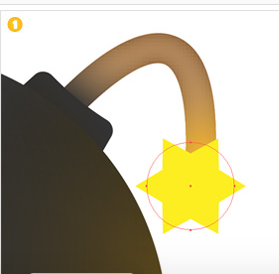
Step 6: Select the Ellipse Tool(L) and create a squeezed shape. See the below image to fill the color and place this shape around the spark.


0 Comment(s)